The Big Issue has teamed up with The Restart Project to teach the nation how to fix up their stuff. First up, we save your gaming sessions with how-to-guide to fixing controllers
by: The Restart Project
12 Jun 2020
Share
An estimated £1bn-worth of faulty electronic devices are gathering dust in UK homes. Over half of households have an unused device – half of 16 to 24-year-olds hoard more than 10 deceased devices – and 80 per cent of us have no plans to recycle them – despite most having a fixable fault. The Restart Project aims to bin the throwaway culture of the electronics industry, and is bringing easy to follow fix-it guides to The Big Issue. First up in our imaginary repair shop: sticky PS4 game console controllers. During lockdown, Google Trends has shown a spike in searches about these. Many faults are related to cleaning, which requires careful disassembly and reassembly. It can be intimidating, but some care at a couple of key moments and you’ll soon be ready to restart.
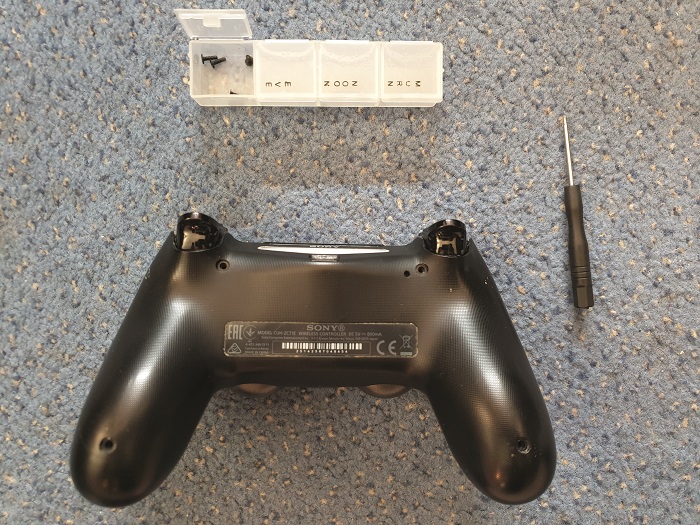
Step one: First remove the four main screws at the back with the Phillips #00, put in your pillcase or egg carton. (If you happen to have a counterfeit version, you will learn at this moment, the screws will be extremely hard to remove and are a different size.)
Fix games controller step one
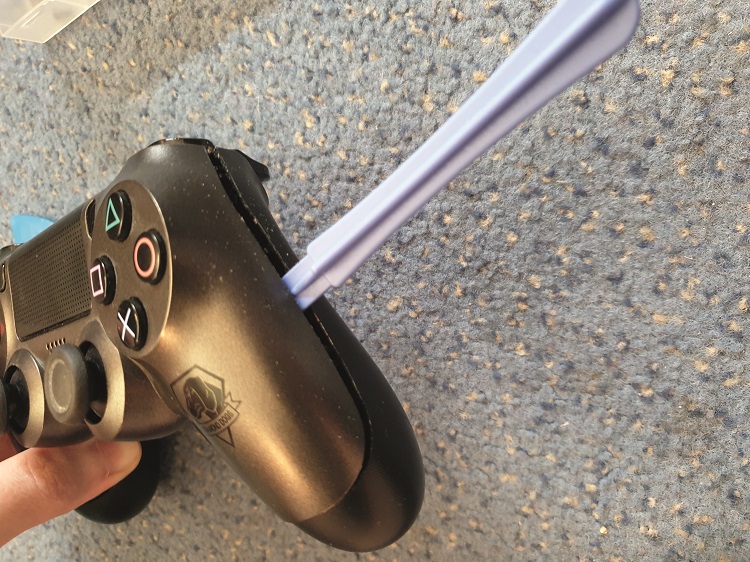
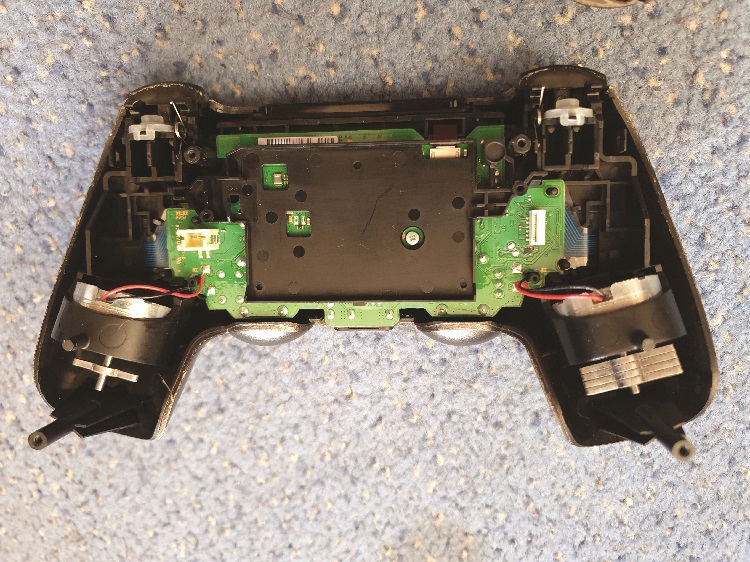
Step two: Take off the front case of the controller, prying with a plastic prying tool or a discarded credit card. Be careful NOT to remove any of the buttons as you pry.
Restart Project games controller step two 1
Restart Project fix games controller step two 2
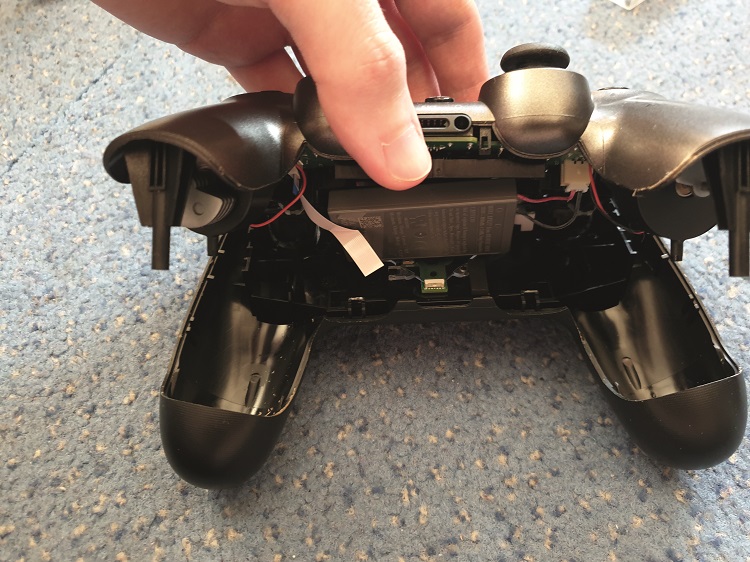
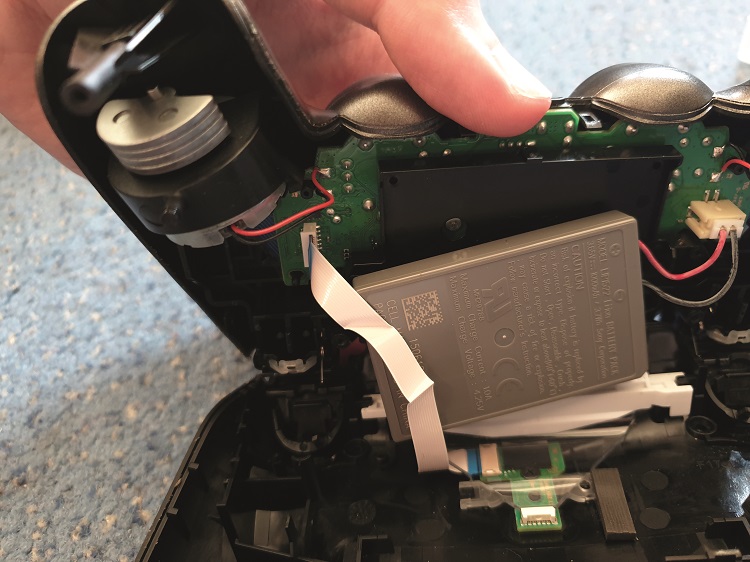
Step three: Carefully remove the ribbon cable that connects the back case.
Advertising helps fund Big Issue’s mission to end poverty
Restart Project games controller step three
Step four: Disconnect the battery – always disconnect the battery as soon as you can in a repair!
Step five: Unscrew the one screw connecting the green circuit board to the front assembly.
Restart Project games controller step four and five
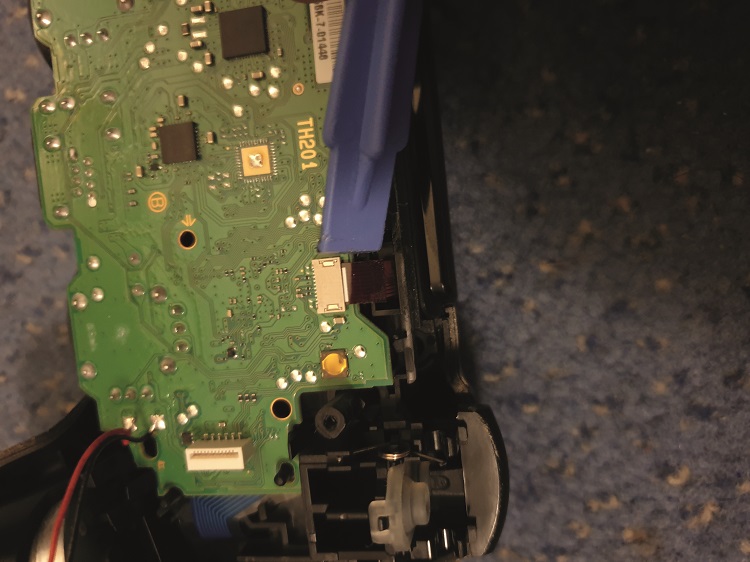
Step six: Carefully remove the ribbon cable connecting the front to the top of the circuit board. Some versions have a cap on the enclosure, which needs to be flipped up.
Restart Project games controller step six
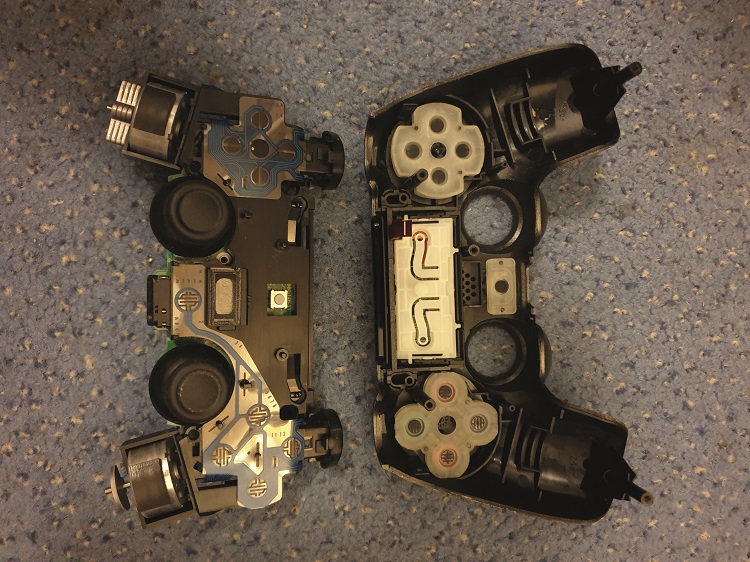
Step seven: Carefully disconnect the front assembly with the buttons in it.
Restart Project games controller step seven
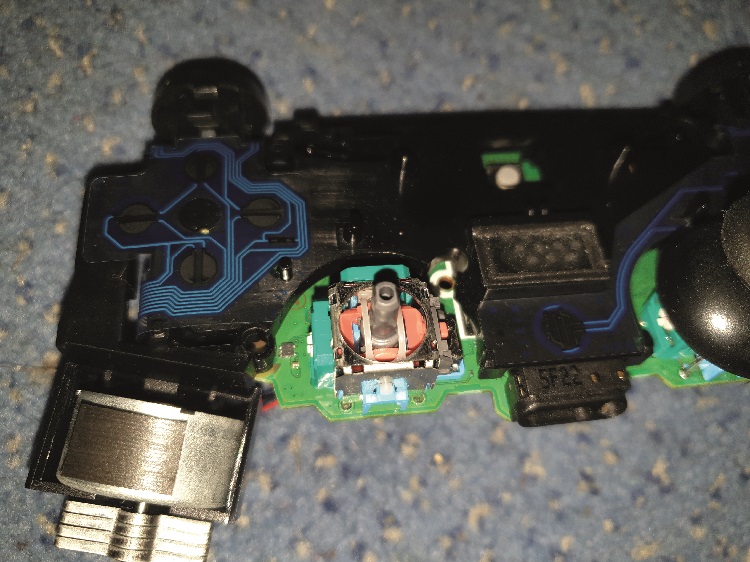
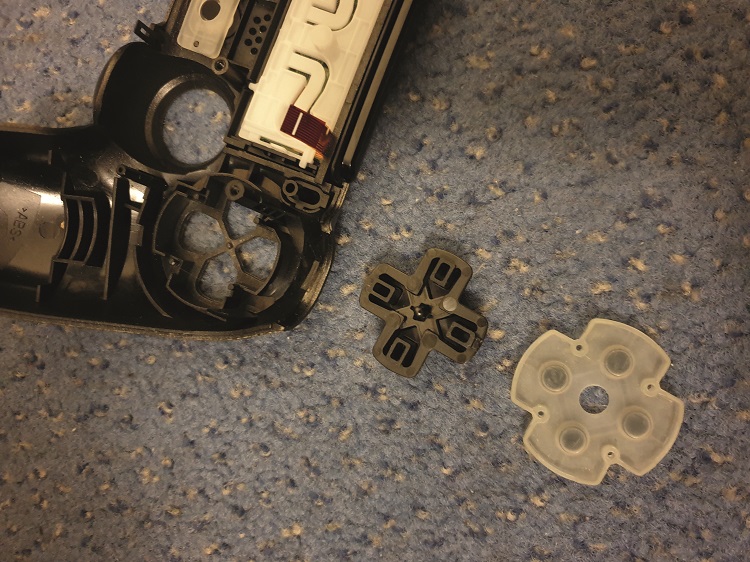
Step eight: Remove and clean the buttons with cotton buds and isopropyl alcohol, one by one. Remove and clean the analog sticks by brushing or wiping the dust and dirt off the area. Clean the chambers beneath the analog sticks with IPA and cotton buds.
Restart Project games controller step eight 1
Restart Project games controller step eight 2
Step nine: Reassemble, going backwards, taking real care to reconnect ribbon cables and the battery. Then it’s game on!
Advertising helps fund Big Issue’s mission to end poverty
Don’t panic if a button falls out during disassembly, simply set it aside and watch a YouTube video or a guide from ifixit.com can help.
Advertising helps fund Big Issue’s mission to end poverty